Vinyl Plank Flooring: The Durable and Stylish Solution for Every Home
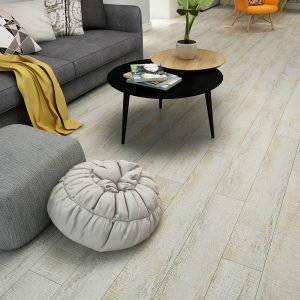
Are you looking for a durable, stylish solution for your home’s flooring? If so, vinyl plank flooring is an excellent choice. Vinyl plank flooring provides the look of real wood with the durability and ease of maintenance that comes with its vinyl construction.
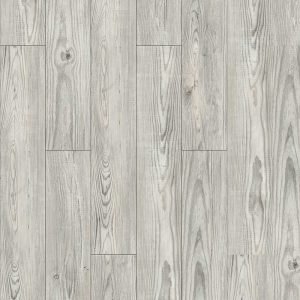
This flooring option provides advantages such as a wide variety of styles, finishes, and colors available, making it easy to find the perfect option to fit any home’s design. These options also make it possible to mix and match styles to create unique patterns or color-coordinate a room. Unlike traditional hardwood flooring, vinyl plank flooring does not need to be stained or sealed, saving you time and money.
When it comes to durability, vinyl plank flooring has many advantages. Due to its construction, vinyl plank flooring is waterproof and scratch-resistant, meaning it won’t swell up when exposed to water. This makes it resistant to spills, moisture, and pets, making it a great option for busy households. Additionally, its construction prevents damage from heavy foot traffic and furniture, making it an excellent choice for a high-traffic area.
Vinyl plank flooring is also much simpler to install than traditional hardwood flooring. As a “floating” floor, it is extremely easy to install with either an adhesive backing or a click-lock system. This makes it a perfect solution for those looking for an easy DIY project.
Durability, style, and ease of installation make vinyl plank flooring perfect for any home. Whether your home has high traffic areas or if you’re looking for a way to spruce up your living space, vinyl plank flooring could be the perfect solution for you. With so many options to choose from, you’re sure to find the perfect style to match any room.
Q: How do you install vinyl plank flooring?
A: Installing vinyl plank flooring is a relatively simple process. First, make sure your floor surface is completely clean and level. Once that is done, you are ready to install the planks. Start by laying the planks along the wall, using locking mechanisms and tongue-and-groove systems to attach the pieces together. Use a tapping block and rubber mallet to make sure the planks are tightly fitted and secure against one another. Work in straight, even rows until the entire floor is covered. After the installation, use a roller to press down each plank to make sure it adheres completely to the floor. Finally, use trim to cover the edges of the planks and mop the whole thing with a damp cloth to remove any dust or debris.